
Green Screen Filming for an International Webinar

I love filming green screen content, it seems to be a bit of a speciality of mine this year! This shoot was a really interesting one with an International flavour! I was bought in by a European Production Company to shoot 3 pieces to camera at the clients premises in Lincoln, UK for a Webinar. Instead of travelling over to the UK for the shoot they contracted me to run the shoot and act as Director/Camera.
Pre-Production
With a shoot like this, it is always important to fully understand what the client is after, particularly if they aren’t going to be on site, and if the have any previous examples they’d like to match. In this case the client had already filmed many webinars for this company so there was already a look in place.

We had a short Zoom meeting with the Production Company and end client to run through what they were after, how they intended to use the footage and a little about my expectations for the day, including scheduling. They also provided the three scripts for the shoot so I could familiarise myself with the content and get this uploaded to the autocue.
Production
The shoot was quite straight forward but made use of a LOT of my equipment, which always makes the rig and de-rig slightly longer than usual. Thankfully my colleague Adam Marsden had offered to assist me and operate the Autocue too, which meant I could concentrate on contributor delivery and sound while we were shooting.
Equipment List
- Cinematic Shooting Package – Sony FS7 & Canon L Lenses
- 2x FalconEyes RX-18TD Flex LED Lights
- 2x Neewer RGB LED Panels
- 1x 1×1 LED Panel
- Sound Kit
- 7″ Autocue System
- 21.5″ Floor Monitor
- 2×2.4m Pop-Up Green Screen
- Grip and Distribution Equipment
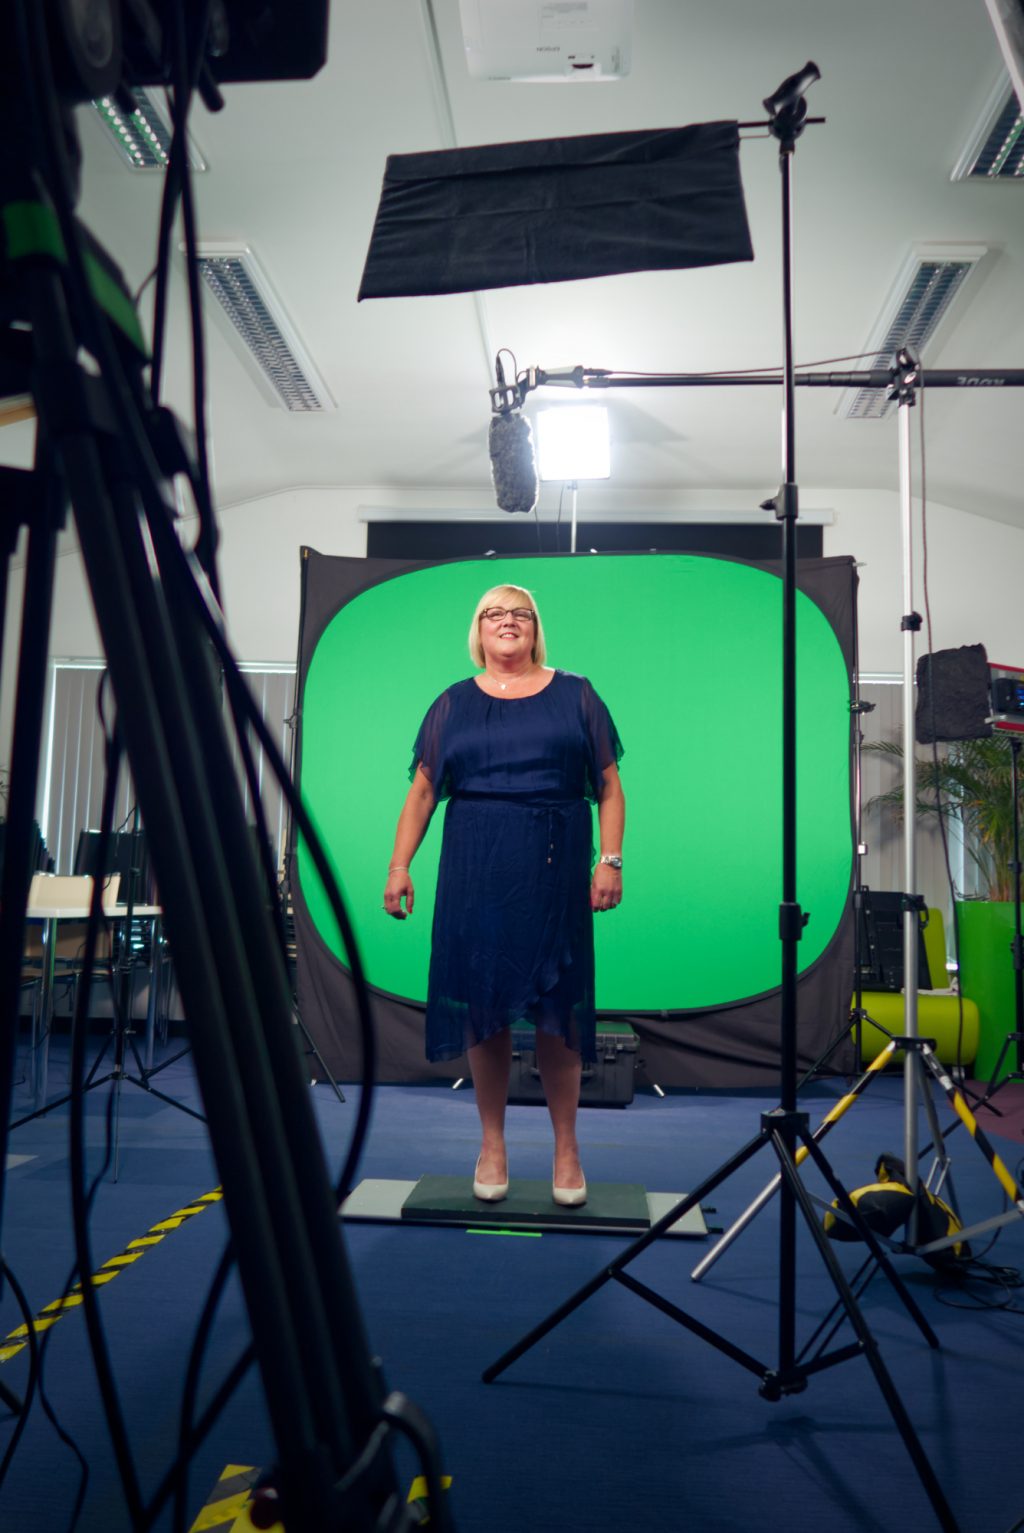
With a shoot like this I like to allow around an hour and a half to two hours to rig, as ensuring the green screen is well lit is important, this sometimes means blacking out windows in the room and importing some footage into the edit suite to check the key. Thankfully the room had blinds on all the windows and it was a rather overcast day, keeping external light levels low. We did run into a small problem, and that was there were windows behind the Pop-Up Green Screen which light was leaking through the material. To combat this we threw up a black sheet behind the green screen to block this out.

I lit the green screen with the Neewer RGB Panels set to 4200K, positioned behind the contributor with some blackwrap to stop spill. The contributor was lit with my 2 Falconeyes Flex LEDs also set to 4200K. As the content was to be superimposed onto a slideshow background I went with a more ‘TV Studio’ style setup rather than a high contrast interview setup, positioning the lights at 10 and 2. With green screen content having a good edge/backlight is always important, here I used a 1×1 LED panel positioned behind the green screen to add a nice backlight. Having a backlight like this does flare the lens, so I had to position one of my Wescott ‘Fast Flags’ to cut the spill onto the lens.
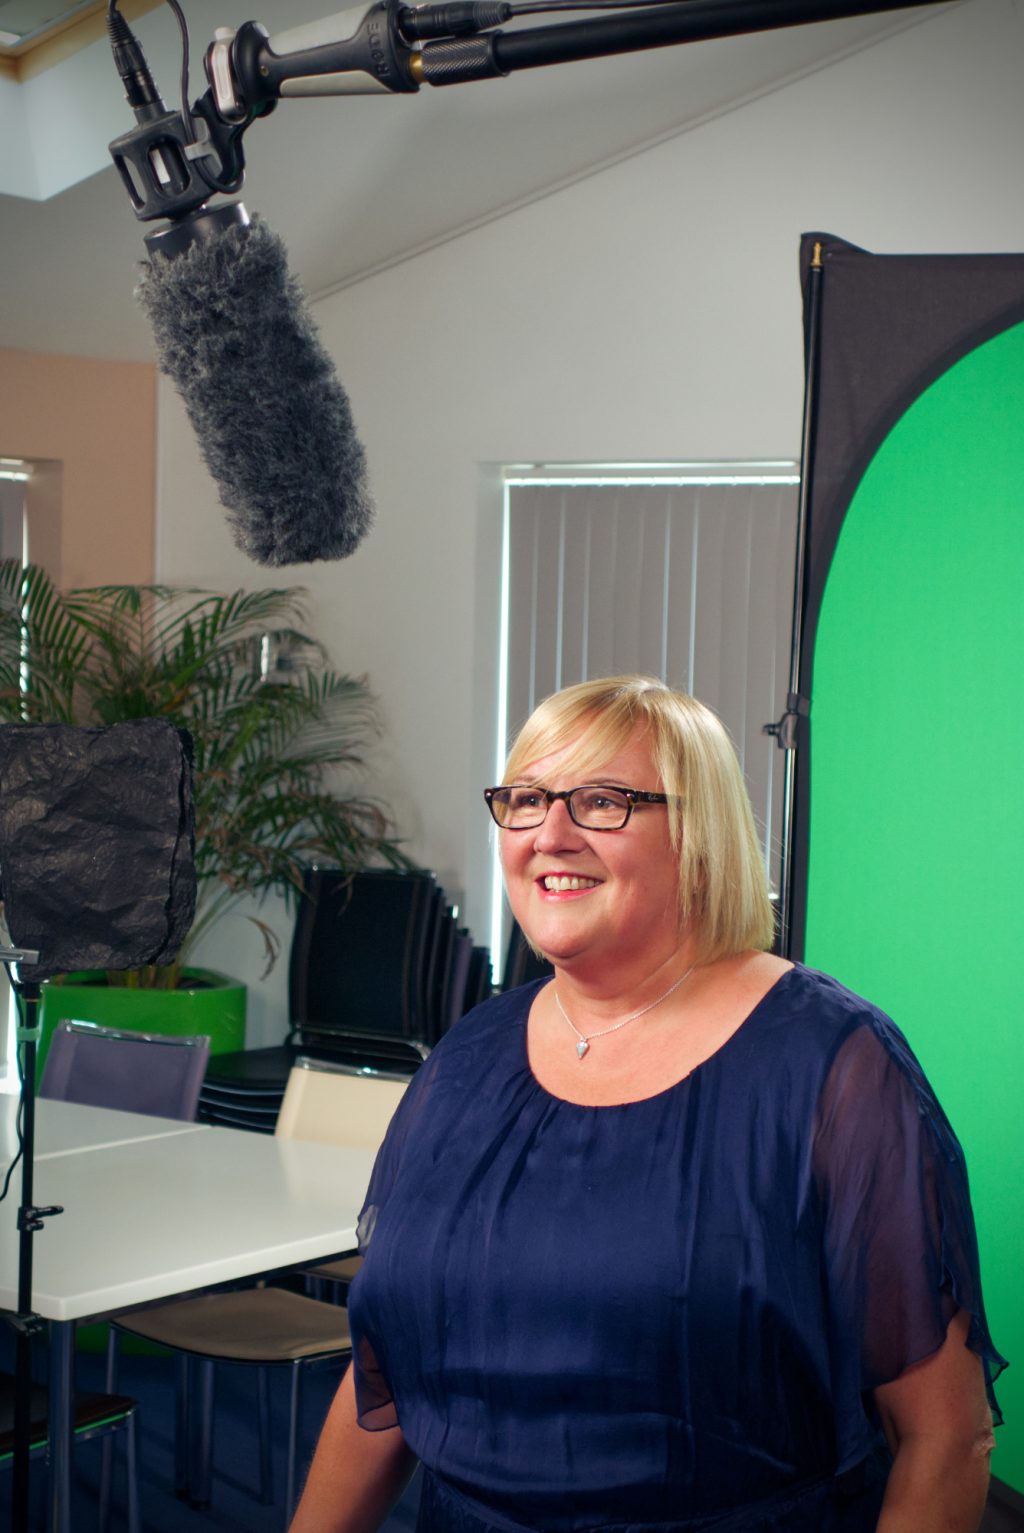
For sound I ran my shotgun mic straight into the camera, I often find when running my own sound a boom is less fiddly than radios or lavs, and in my opinion often results in better audio. I monitored the audio through my Sennheiser HD-25s.
We ran my 7″ above the lens autocue system, I tend to find this works very well for this situation and is generally a very cost effective solution for clients. I make use of my 7″ directors monitor positioned above the lens wired into my MacBook Pro running autocue software. I have ran this setup for the last 6 years and it has proven very popular, as we can easily make script adjustments on the fly and it’s pretty easy to operate, controlling the speed of the text to match the contributor.
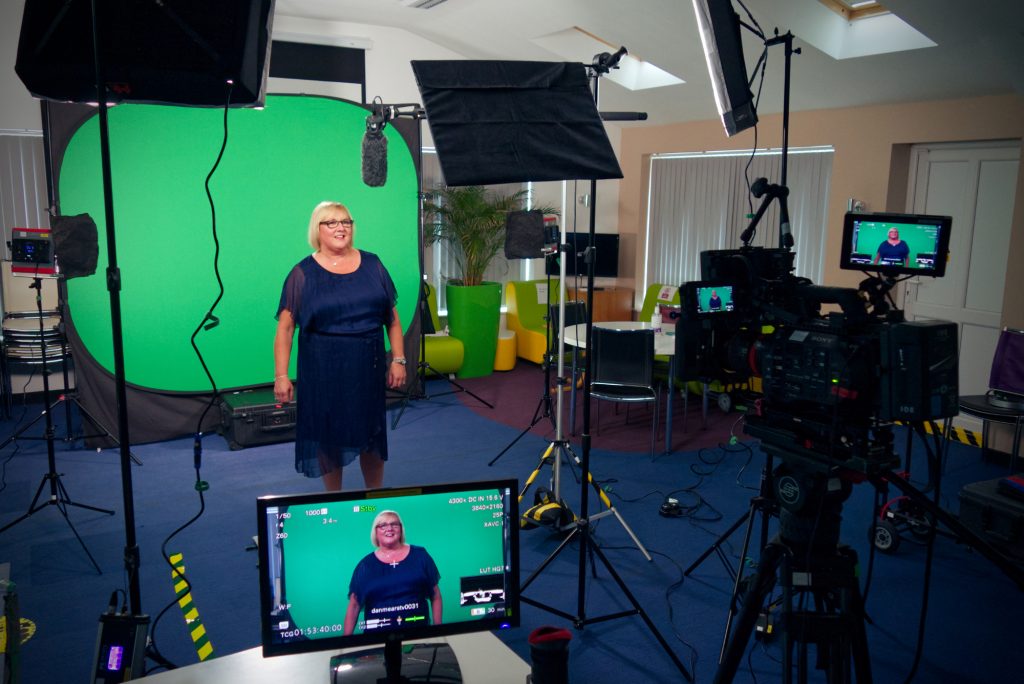
Getting the Take
As there wasn’t much camera operating to do once we were all setup I decided to monitor the takes from the comfort of a chair and desk with my 21.5″ Floor Monitor. Here I could use my paper based scripts to mark up mistakes, good takes and such like. I gave each ‘good’ take a score out of 10 and marked up paragraphs where there were little slips or missed words. The takes ran for around 5 minutes so getting it in one hit was going to take some work, therefore I compromised on having 2 ‘good’ takes with the better one having a couple of ‘patch paragraphs’ to make it perfect. I kept a note of the clip names for each take so they were easy to locate for the upload.
The Upload
The plan was for me to upload the footage to the production company’s Google Drive account after the shoot from the comfort of my office, however while on location I noticed the clients WiFi was pretty quick so decided to upload the first two contributors while we were having lunch and filming the last. I then proceeded to upload the last contributor during de-rig! I only uploaded 2 takes per contributor plus the ‘patch paragraphs’ I mentioned above. This kept the amount of footage the editor had to review to a minimum and also kept the files sizes down for the upload!
This was a really fun shoot, and great to work as a Director/Camera again after a large amount of DoP work this year. If you’d like to learn more about green screen filming, why not check out my blog here.