3 Steps for the PERFECT ‘Green Screen’ Shoot
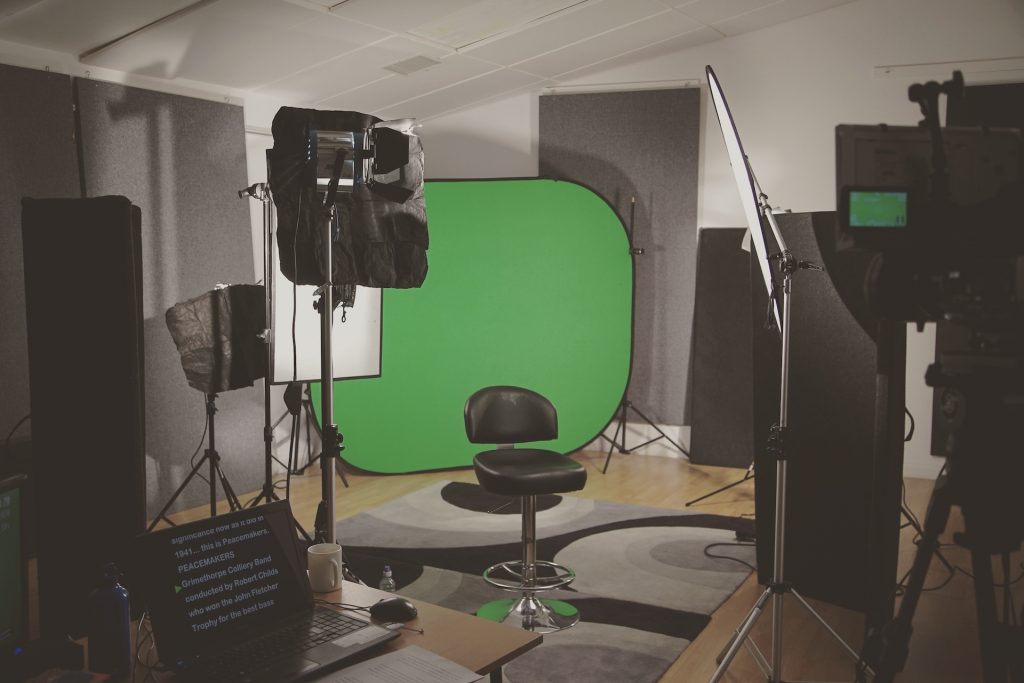
Green Screen Shoots
I get asked to shoot green screen content all the time. Whether it’s interviews, pieces to camera or product shots. It can be a daunting prospect taking on your first green screen gig, so here are my 3 steps to shooting the perfect green screen.
Step 1 – Distances
The first step is setting your distances. This is the distance from the green screen to the talent, and then from the talent to the camera. Getting your distances right will ensure minimal green spill on your talent and also ensure you can ‘frame up’ the correct amount of your talent. For a sat down interview or piece to camera, I generally sit my talent around 2 meters away from the green screen and then the camera a further 2 meters away from the talent.
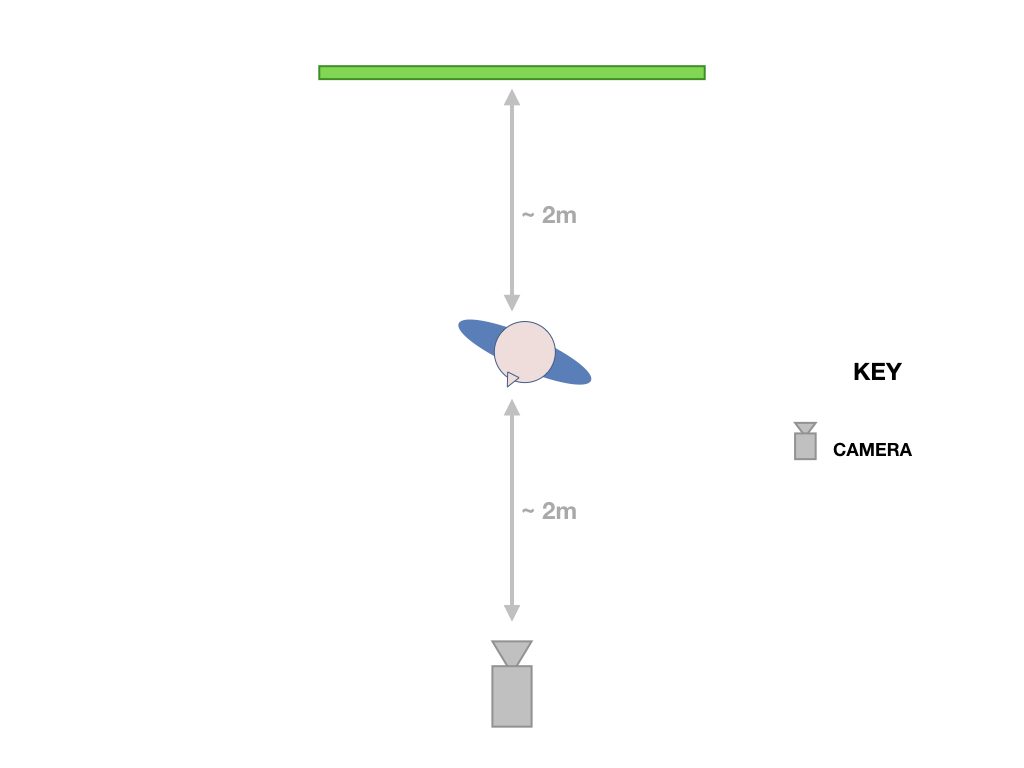
As you can see, you need a fair amount of space to set this up, so getting the orientation correct in your room is key!
Step 2 – Lighting
Lighting is one of the most critical parts of a green screen shoot. To start, we must consider that the screen needs to be lit separately from our talent. If we don’t, we will end up with nasty shadows on the screen and green spill on the talent!
The Camera
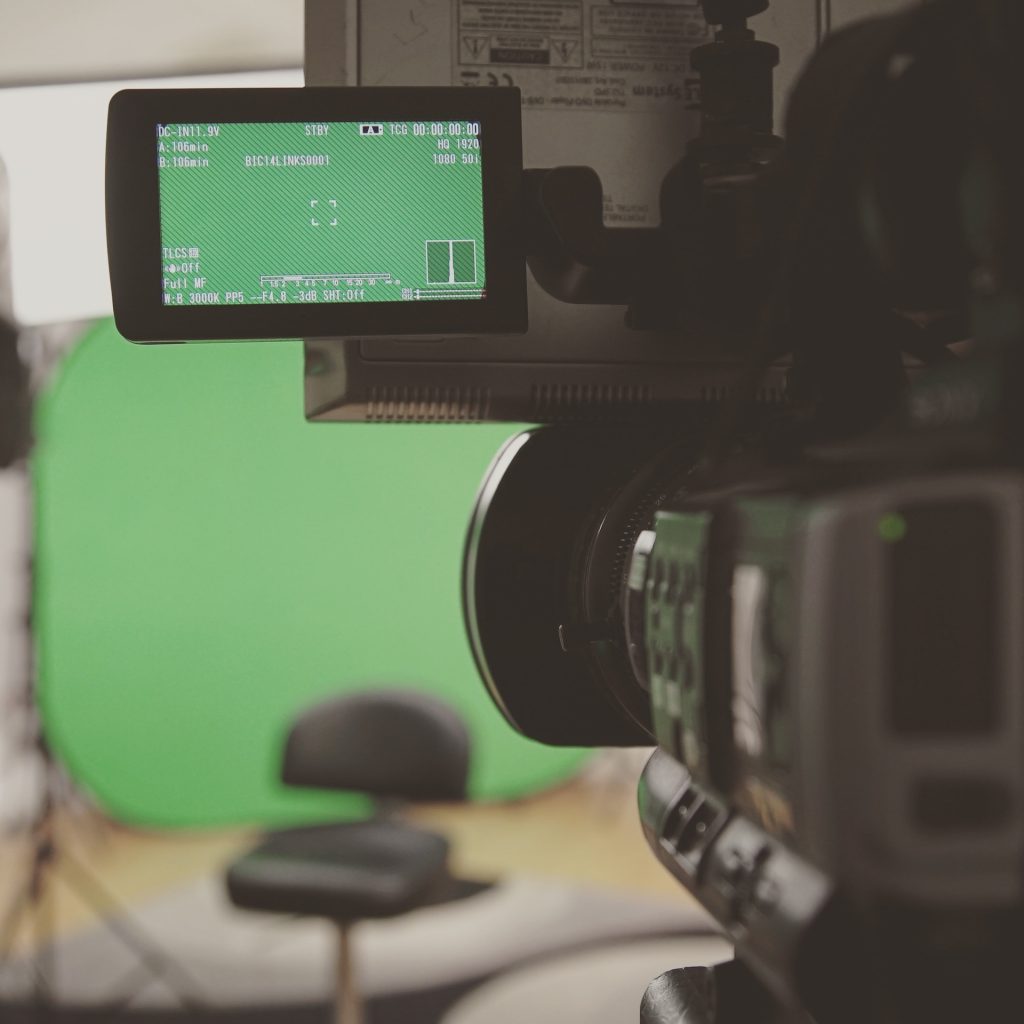
The key to lighting the green screen is a consistent exposure across the entire screen. An even exposure make keying (removing the green) in post production easier. So, before I set any lights up, I setup my camera to show zebras at 50% IRE. When shooting in REC709 (rather than Log) you generally want to expose the green screen to around 50% IRE; therefore I can use the zebra pattern to help get a consistent exposure at 50% IRE across the entire screen.
The Green Screen
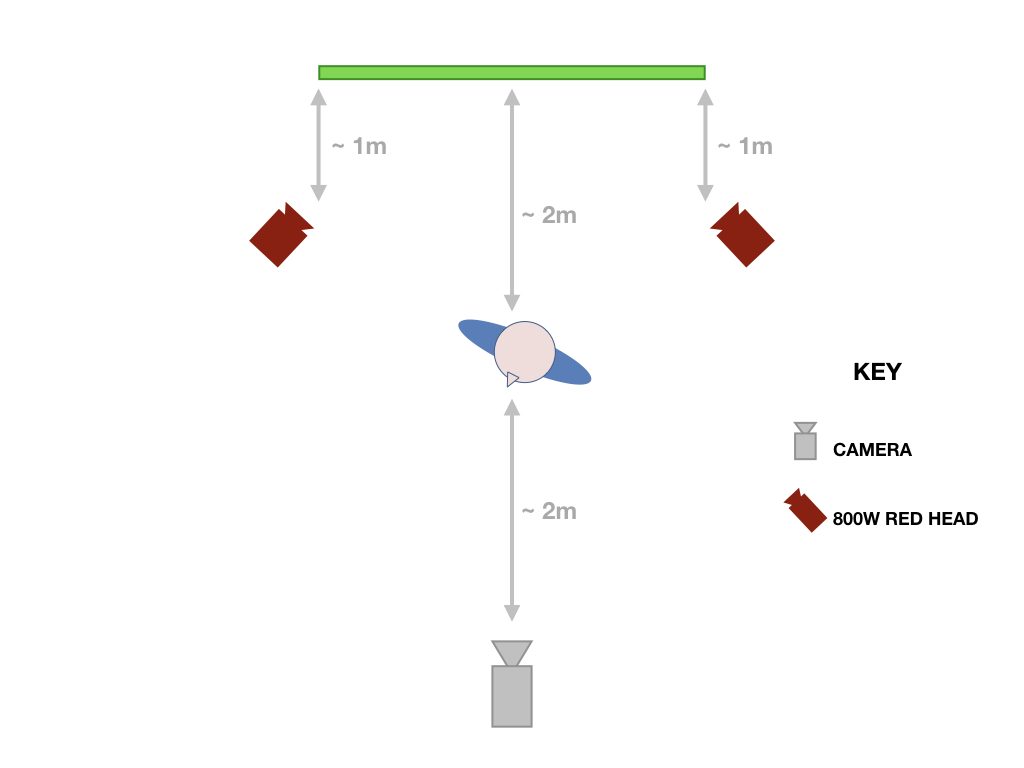
Now for the lighting. I start by setting a light either side of the green screen, about 1 meter back. You want both of these lights to be the same power, and the light quality as even as possible; I generally use two 800W Red Heads with full diffusion. Generally I use tungsten lights for these shoots as they are a bit easier to control than my LED lighting kit. With most tungsten lights you can focus the light and use their barn doors to shape it as well, making it easier to control where the light lands!
Switch on one light and line it up to cover the green screen and then do the same for the second light. I then check my exposure on the camera and adjust the ISO/gain and iris to give me an exposure on the green screen of around 50% IRE (so the zebra pattern covers the green screen). There may be some hot spots and dark areas but just take an averaged approach at this stage.
Then I continue to tweak each light to get an exposure that is as smooth as possible on the green screen: this sometimes means switching a light off, adjusting the other and so on. It may even mean adjust the camera’s ISO/gain and iris. What you are looking for is a nice even coverage of zebras across the whole screen.
Once I’ve got the even coverage, I white balance (WB) the camera. Achieving a good white balance will really help with keying in post production. Just use a WB card stuck to the green screen so you are balancing under the lights illuminating the green screen.
The Talent
Once you’ve got a nice evenly exposed green screen you can start to think about lighting the talent. This is pretty much like lighting any interview or piece to camera but with two further considerations…
The first, separate your talent from the background. No matter how careful you are, you will always get some green spill on the talent from the screen. By giving your talent a backlight you can help reduce the effect of this green spill, particularly with blonde hair!
Secondly, light your talent with the background in mind. Find out what is going to be keyed into the background and light your talent in a sympathetic way. If the background is light and airy, light the talent high key. If the background is moody and dark, light the talent low key. Perhaps the background has coloured lighting you could incorporate into the lighting on the talent?
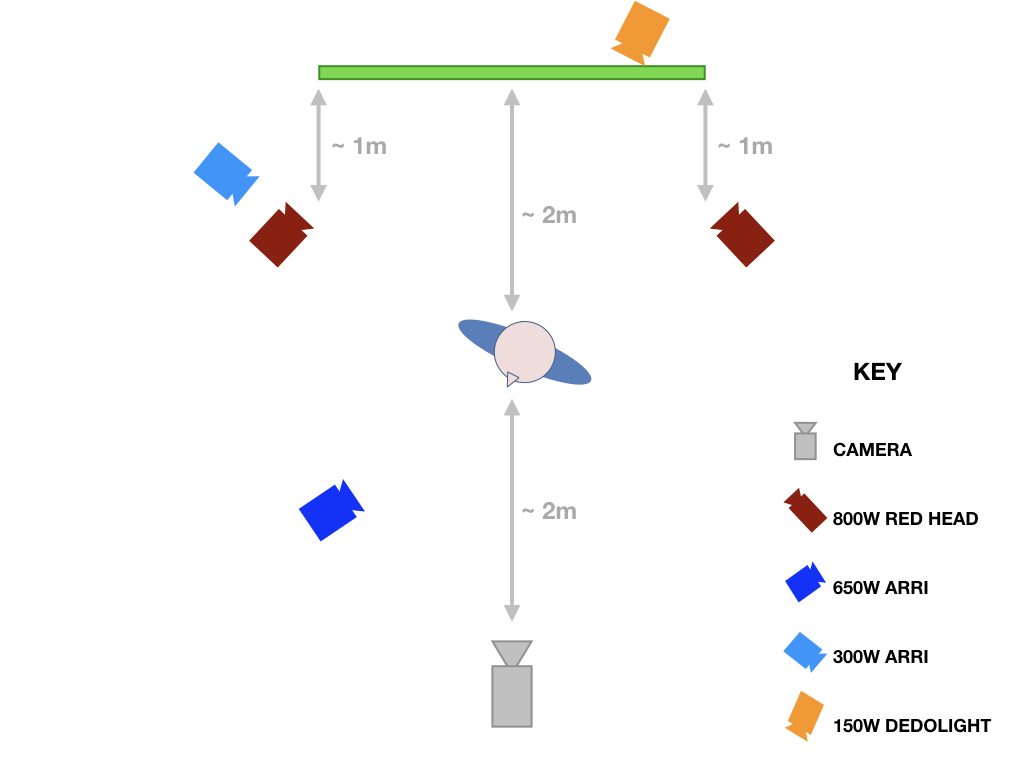
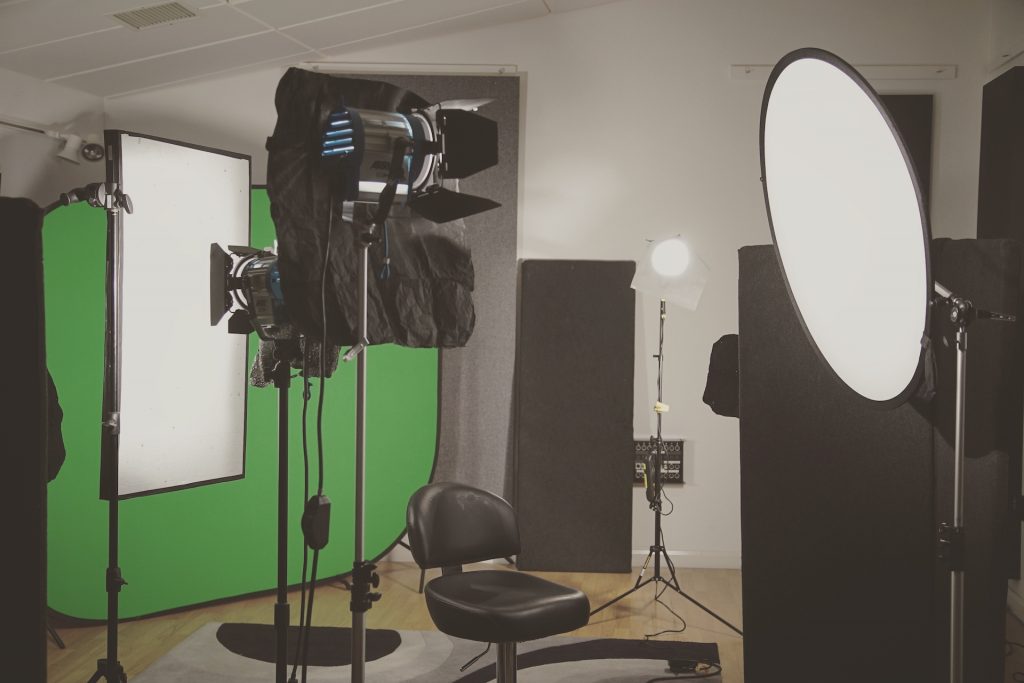
As a final step, keep stray light from the barn doors and lamp housings hitting the green screen and talent by using black wrap on the lights.
Step 3 – Codecs, Gamma & Gamut
Even if you have a perfectly lit green screen, a poor codec choice can make achieving a good key difficult.
Most cameras these days offer very high quality recording formats, including ProRes 422, XAVC-I & XAVC-S. My advice would be to record at the highest bitrate you can, in the best resolution. This said, I have had good success with the old XDCAM HD format (35mbps VBR) on my PMW200, although this was being keyed for SD DVD! On the FS7, I would opt to shoot UHD 25p in XAVC-I.
Second to your codec choice is your gamma and gamut choice. There is a lot of contradicting advice about this, so these are just my thoughts. If your footage is having a grade, shoot Log with the corresponding gamut. If it isn’t, shoot REC709 with a Cine/Hypergamma. Again, if your codec is weak, then don’t stretch it by shooting in a Log format, just stick to REC709.
Personally, on the Sony FS7 I’d shoot with either sLog3, S-Gamut3.Cine for the grade or HG7, Standard Gamma without a grade.
If you opt to shoot Log, the IRE at which to expose the green screen will vary from the 50IRE discussed for Rec709, and this will depend on your flavour of Log.
The best advice I can give is to test, test, test! Test your green screen, lighting, exposure and codec and gamma. Edit some of the footage and check it keys well and looks as you expect!
Summary
Shooting green screen can be a daunting prospect. Keep in mind these three steps and you can’t go far wrong!

Want to hire me for you next green screen shoot? Why not get in touch!
Want to Buy a Green Screen?
I bought my 2m x 2.4m pop up green screen from Amazon, which is linked below. As an Amazon Associate I earn from qualifying purchases.
Found this blog useful? Why not ‘Buy me a Coffee’ and help keep my blog running! Follow the donate button below.

Green Screen Filming for an International Webinar - Blog - Dan Mears
November 8, 2021 at 10:46 am[…] This was a really fun shoot, I don’t often work now as a Director/Camera however it was good to give these muscles a flex. If you’d like to learn more about green screen filming, why not check out my blog here. […]