
A Guide to Audio and the Sony A7s
Sony A7s Audio Guide
After carrying out many documentary and corporate shoots with the Sony A7s using a dual audio/video recording system I thought there has to be something better!
Now… Sony and the likes of Tascam offer external audio input devices for DSLRs and the Sony A7s but where they fall down is that they add weight to a nice small form factor camera and in addition they usually need powering, which is just one more thing to deal with. That’s even before we even mention the cost of these devices, with the Sony XLR module running in at a cool £500!
Recordist Mick Close and myself have found a solution to get high quality stereo audio into the Sony A7s without the use of any of these additional add on modules or adaptors.
The Solution
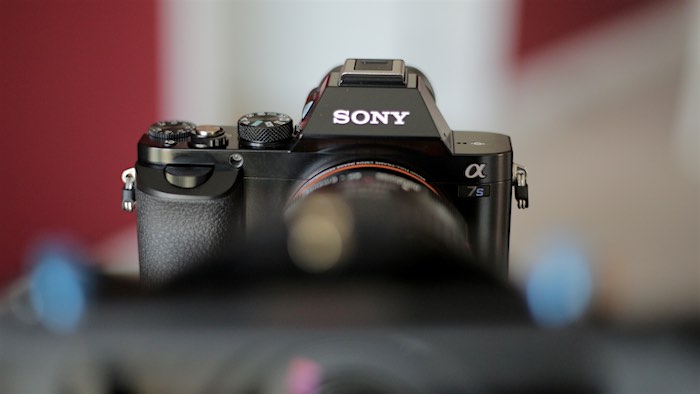
The solution takes advantage of the cameras built in 3.5mm microphone connector and 3.5mm headphone jack, it’s really that simple but there are a few little caveats you need to be aware of.
First off you need a 3.5mm jack to twin XLR cable so you can run the outputs of the sound recordists mixer into the Sony A7s. This also allows the recordist to use the same umbilical cable and breakout they would with any other camera.
I bought my cable from Amazon, very similar to the one linked below. As an Amazon Associate I earn from qualifying purchases.
3.5mm Jack to 2x Female XLR:
As the Sony A7s is a microphone level input you will need to set the XLR outputs of the mixer to microphone level so as not to distort the built in pre-amps in the camera. Feeding it a line level (whether at -10dB or +4dB) signal will result in both a noisy and an overmodulating recording. Most recordists with a professional audio mixer (e.g. Sound Devices) should be able to do this.
Sticking with camera’s input, the built in pre-amps are actually very low noise, especially considering the size of the unit. That said we found it best to set the preamps to a level of 8 so tone, which would usually sit at -18dB, was registering at -12dB. This does provide a little less head room for recordings but we found it gave a stronger signal/noise ratio.
Moving on to monitoring, most recordists will monitor the output of the camera to ensure all is recording correctly. This is no different with the Sony A7s, we set the output of the headphone jack to 15 (which is the maximum) and this allows you to monitor the sound coming out of the camera in the usual way.
Things to watch out for!
If the 3.5mm jack input to the camera is knocked it can cause a scratching noise to the recorded signal, which isn’t great. To ensure this doesn’t happen I have attached a couple of clips to my Movcam cage to hold the cables in place. I’ve popped a couple of pictures below with the cables hooked up to show how I have it rigged. The two clips hold the cables tight and in place.


In use
Mick and myself put this setup to good use on a recent shoot where we had several interviews to film throughout a day. The setup worked flawlessly and allowed to production to use the in-camera sound. This not only saved them time in the edit when compared to syncing dual recordings but also allowed us to do quick playbacks on the day and review recordings too.
My thanks goes out to Mick for the time he put in to finding this out and putting it into practice too.
A Sound Recordist’s Perspective
And for all you recordists out there, here is a word from Mick himself…
“I was recently employed to work with DoP Dan Mears. We were to use a Sony A7s and the client wanted the sound ‘on camera’. I had never used or interfaced this unit before so I set about my research via the internet. To my dismay there was much conflicting information. There was no alternative than to get together with Dan pre shoot and do some tests.
Using my existing tails I connected to a 3.5mm to stereo female XLR set that Dan had purchased quite reasonably online. This cable configuration allows you the same stereo separation as you would expect from your stereo ‘tails’, you will although have to use your headphone return from your tails on a usual 3.5mm jack.
The input level of the camera is mic level ( -60 /-50 db ) attainable through many modern mixers. Line level and -10 are just too ‘hot’ and will result in over modulation.
We did some tests in the form of 1khz ref tone and voice recordings which we purposely hit the limiters at +6db and went from the Cameras input gain 1 through to 9.
We settled on the cameras input level 8. This level ensures decent headroom and a good healthy level on playback. The signal to noise ratio is also very good.
This camera has the best noise floor of all the DSLR cameras I have come across. The monitoring is also excellent, the throughput being second to none, meaning what you put in (signal) is equal to what you get out( monitored.)
In conclusion, I found the camera easy to use, the mic pre amps are quiet. The noise floor is the best of the DSLR bunch and the monitoring is excellent.”
Mick Close
Sound Recordist
Found this blog useful? Why not ‘Buy me a Coffee’ and help keep my blog running! Follow the donate button below.
![]()