
Kit Review: RODELink Filmmaker Kit
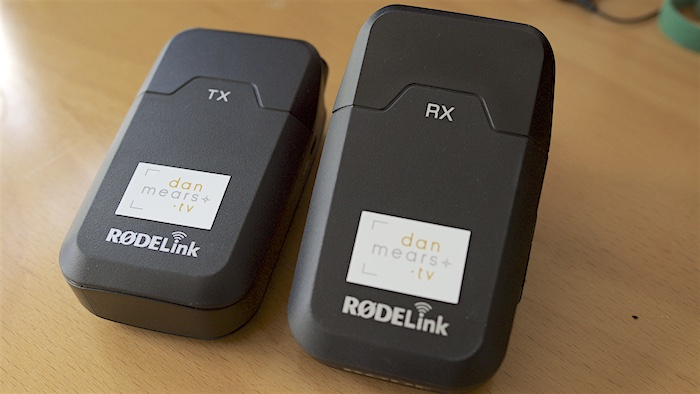
RODELink Filmmaker Kit
This is very much a Cameraman’s review of the RODELink Filmmaker’s Kit, if you want to find out the technicals check out the RODE website or the very many YouTube reviews!
PRE-FACE
I had put off buying any radio mics for some time, getting by with my Rode Broadcast Lavaliere microphone and Sony Shotgun mic for 99% of the work I do without a sound recordist. These mics fitted the bill; whether it was pieces to camera, interviews or voxpops.
I had always found radio mics a bit of a ‘black art’, even when using the Sennheiser G3 systems which are considered a fairly basic radio mic system, I still came into issues including finding clear frequencies, interference and working with that rather large mic capsule.
That said, I’d love to have a radio mic in the kit bag for those little pieces to camera you want to combine a walk and talk or give the talent the ability to roam around.
So after chatting to a Sound Recordist friend he mentioned I should take a look at the ‘simple to use’ RODELink Filmmaker Kit.
WHY RODELINK?
Now, I had seen this system before back when it was released in 2015 but was put off purchasing it due to 3 reasons. Firstly, It’s rather basic gain structure; only offering 0dB, +10dB & +20dB on the transmitter (TX) and 0dB, -10dB & -20dB on the receiver (RX). Secondly, its frequency of operation, working on the WiFi 2.4GHz system. And finally, its reduced transmission range, of around 100m, compared to UHF systems.
Now, a few years on, these three negatives are almost positives for me! Firstly, the gain structure is simple, there isn’t much to get wrong! I generally find +20dB is required on the transmitter if using the included mic for IVs etc. and -10dB or -20dB on the receiver when hooked up to my FS7 and A7s respectively. Secondly, loads of filmmaking equipment now uses the WiFi range of transmission, my own Paralinx Ace wireless video link included. The WiFi range offers a great ‘licence free’ range to operate on and generally a good link can be maintained even in heavy WiFi areas. And finally, the transmission range; I’m no sound recordist, and for shoots requiring more than two microphones I recommend a Sound Recordist is booked. The limited transmission range keeps our expectations, and therefore the complexity of the shoot, within reason for single man crewing.
+ PROS & – CONS
+The TX and RX run off AA batteries and last FOREVER! I’ve used them on a couple of shoots now and not replaced them. Both units can also run off a micro USB power input too.
-The RX unit comes with a 3.5mm jack to 3.5mm jack cable so if you intend to plug the system into an XLR based camera you will require Rode’s VXLR adaptor sold separately. It works great tho!
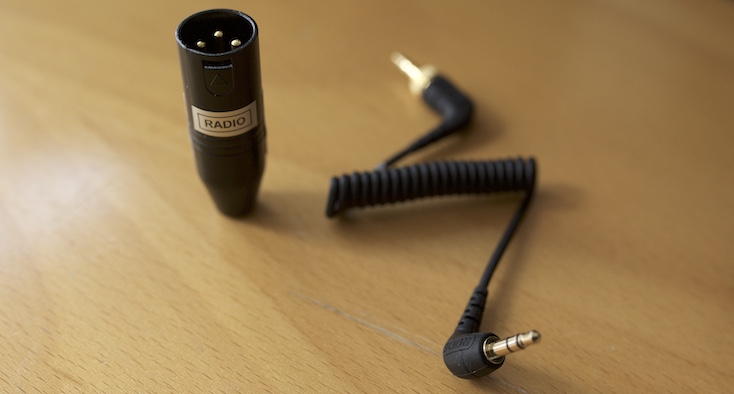
RODE VXLR adaptor and included 3.5mm to 3.5mm RX cable
+The early iterations of this system exhibited some interference through the microphone cable; this was particularly notable when the mic cable was wound up near the TX unit. The newer units include a new mic which eradicates this issue.
-This said, the new mics are an intergraded system meaning the capsule and 3.5mm jack can’t be removed from the cable as they could previously; using the MiCon system as per the RODE Broadcast Laviliere mic.
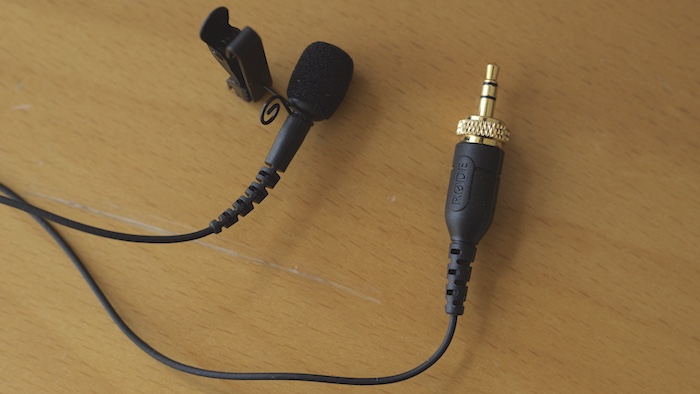
The RODELink Lavaliere mic is an intergraded system meaning you can’t remove the 3.5mm jack or mic capsule from the cable.
+The quality of the sound from the system is on a par with my standalone Rode Broadcast Lavaliere microphone, which is great for 2 person interviews and for matching sound etc. and the mic capsule is fairly ‘low profile’ too, only differing from my Broadcast Lavaliere with the rigged cable brace.
-The RX signal is very hot, particularly when using it with my Sony A7s, so watch out for over modulation.
+Not only can you use the included mic with this system, you can also plug in a consumer line level output (-10dB) to the TX unit, making it great for stage productions where you may want to record the sound from the PA desk onto the camera, but just remember it is a mono only system!
+I have used both the RODELink Filmmaker Kit and my Paralinx Ace Wireless video link at the same time and have no interference to report despite both working on the WiFi 2.4GHz system.
-I dislike mounting radios on the hot shoe of the camera so fashioned the bracket that came with my Sony FS7 to hold the receiver by removing the hot shoe mount on the RX and using the resulting screw and hole to hold it to the bracket. As you can see it provides a very neat, low profile setup!
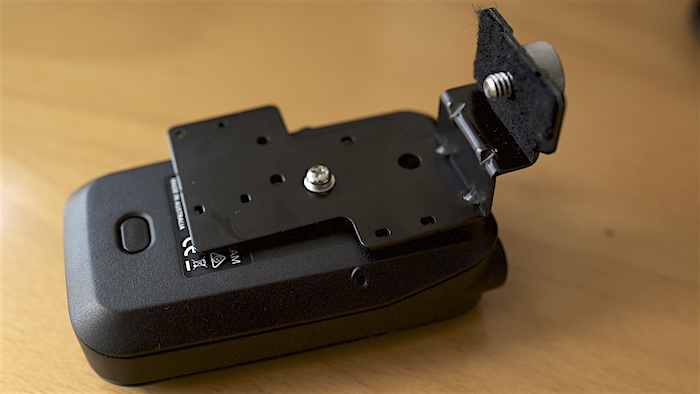
RODELink RX unit attached to Sony FS7 plate via screw hole from the hot shoe mount

RODELink RX unit mounted onto the side of my Sony FS7 using a bracket attached to my SmallRig top plate
+And finally, it does not require a Radio Licence and can also be used worldwide!
SUMMARY
The Rodelink Filmmaker Kit is a really a great, compact wireless mic kit that will get years and years of use I am sure!
Fancy buying the kit? I bought mine from Amazon. As an Amazon Associate I earn from qualifying purchases.
Rodelink Filmmaker Kit:
Don’t forget to purchase the Rode VXLR adaptor too if you want to use it with XLR input cameras.
Rode VXLR Adaptor:
PAIRING
Despite the documentation stating the units are already paired mine weren’t, and it took some time to work out how to pair them too. So for my future convince, and yours too, I have pulled the pairing process off the RODE website.
How do I pair my RØDELink transmitter and receiver?
RØDELink kits are shipped pre-paired from the factory, however if you wish to re-pair for any reason just follow these steps:
- Turn on the Receiver and Transmitter units.
- Open the battery door of both units, allowing access to the pair (red) buttons.
- On the Receiver unit, press the pair button. The screen status should change to display a flashing channel number and a searching animation to indicate it is in pair mode.
- If you wish to select a specific channel number, press the ‘CH’ button to cycle through to the desired channel.
- Press the pair button on the Transmitter.
- Both units should now display a solid, matching channel number indicating that they are now paired.
If you wish to pair multiple RØDELink kits, simply switch off the first set and then pair the second set using the steps above on a different channel.
Found this blog useful? Why not ‘Buy me a Coffee’ and help keep my blog running! Follow the donate button below.
![]()
"Can You Do Your Own Sound?" - Dan Mears DoP
April 2, 2019 at 9:58 am[…] RODE Wireless Lavalier Microphone (check out my review) […]